Basic object editing in slicer aka boolean
I often need small adjustments to 3D models I print, and editing them in Blender or FreeCAD feels like overkill. Often it is easier to edit them right in PrusaSlicer (or, I suppose, any other slicer), even though slicers are not really meant for editing.
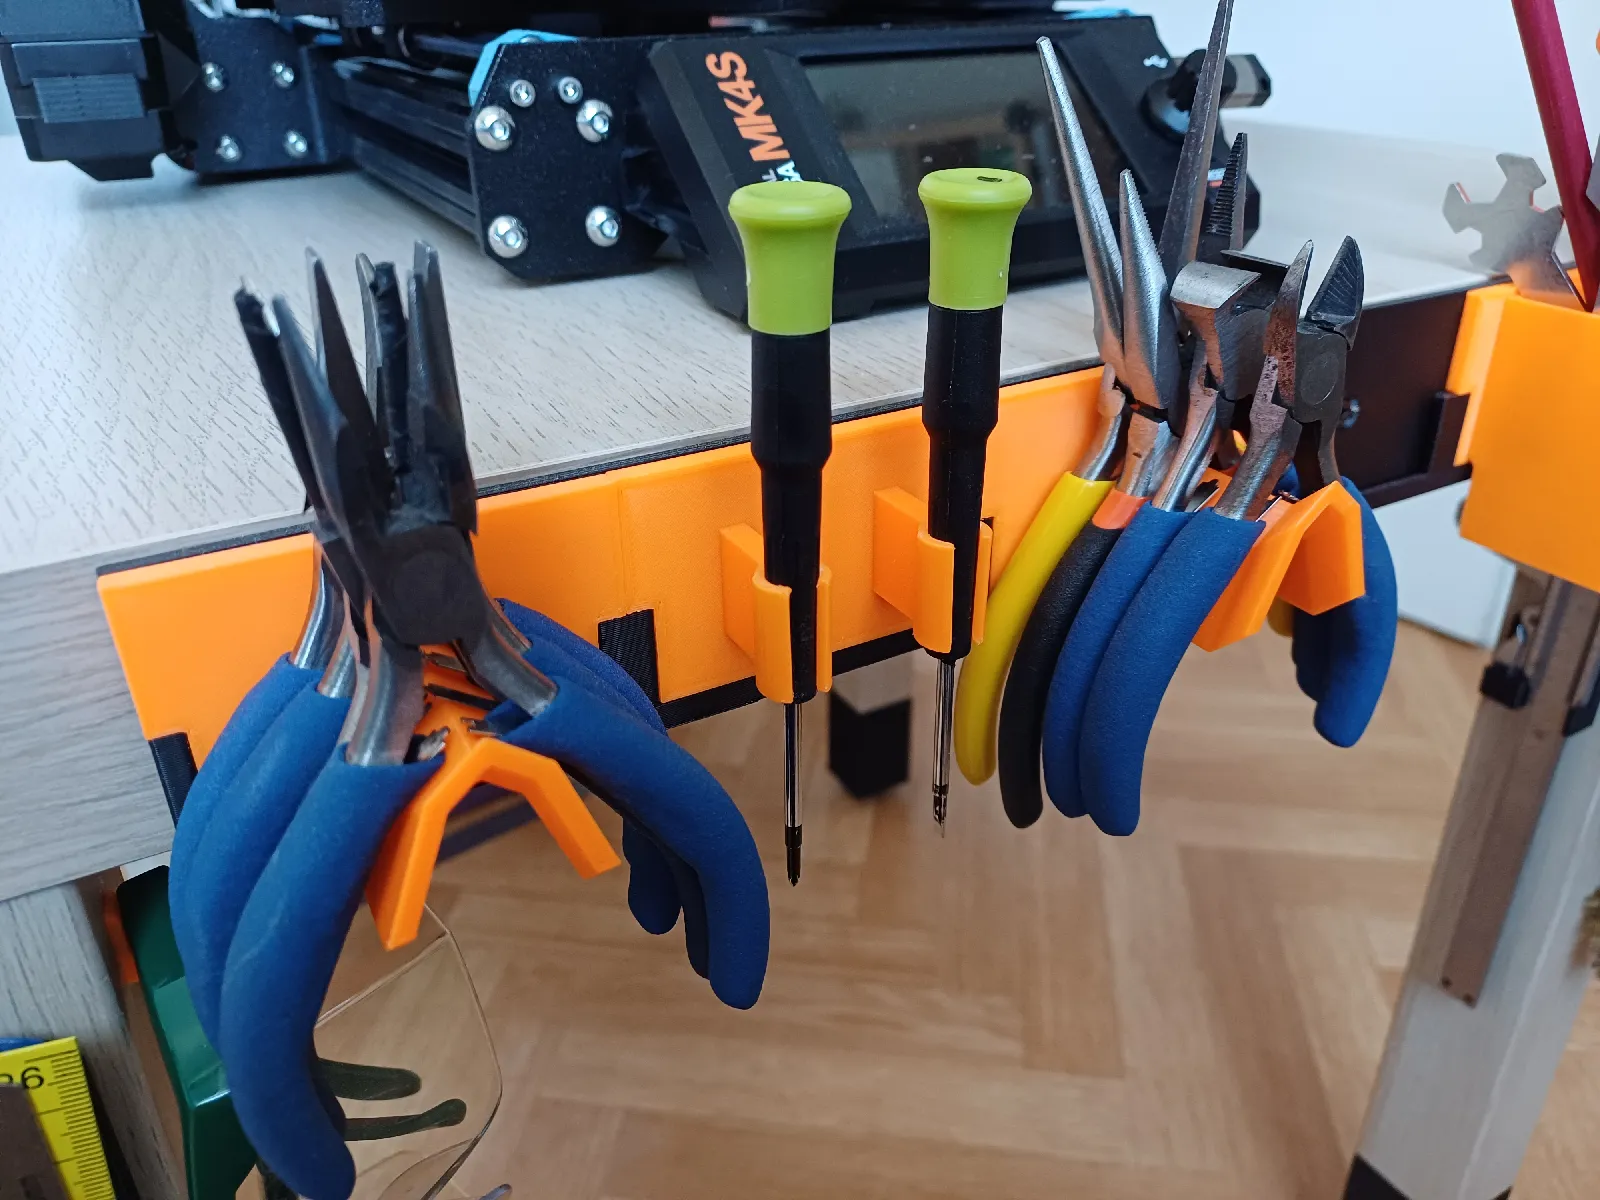
Let's take a tool holder I created (available at https://www.printables.com/model/1001457-modular-tool-holder-strip). I have a hook which I want to add to the strip. I'll take the pliers holder from the picture keep only the base and add the hook in the slicer.
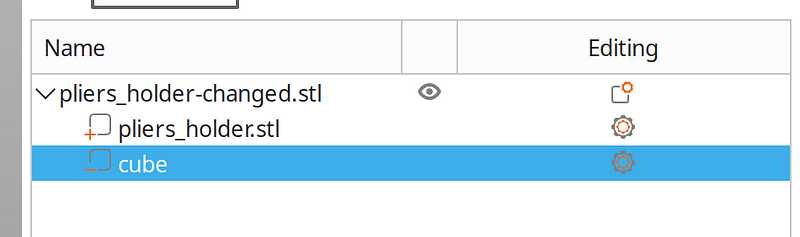
Slicers have the capability to subtract from or add to an object. It works by creating an entity that is a combination of several objects. We can see an example bellow. The entity pliers_holder-changed.stl contains the original pliers_holder.stl and cube. The cube will get subtracted and pliers holder added, that's denoted be the little minus and plus signs.
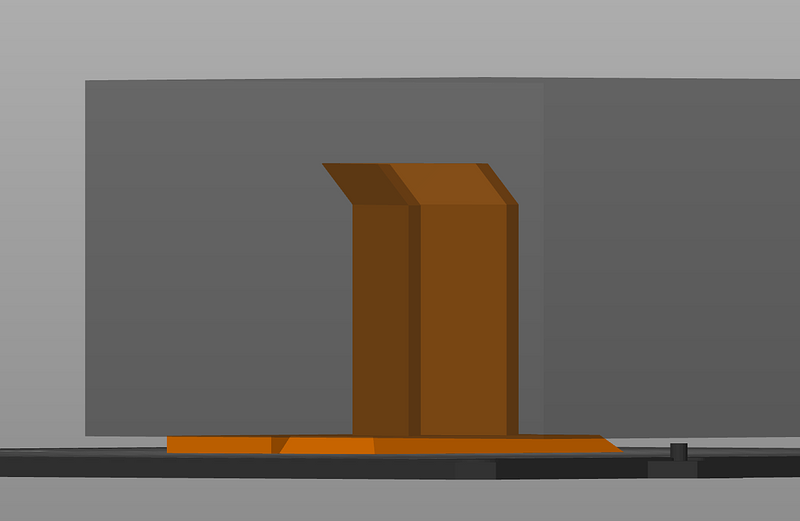
We can create this entity by right clicking an object and selecting options add part or add negative volume. In order toget the base of our holder, we would position a negative cube like so:
We might feel tempted to add a hook now. Unfortunately, these operations are not done in the order you created them; instead, all positive volumes are taken and then all negative volumes subtracted from them. Thus the hook would end up being removed too.
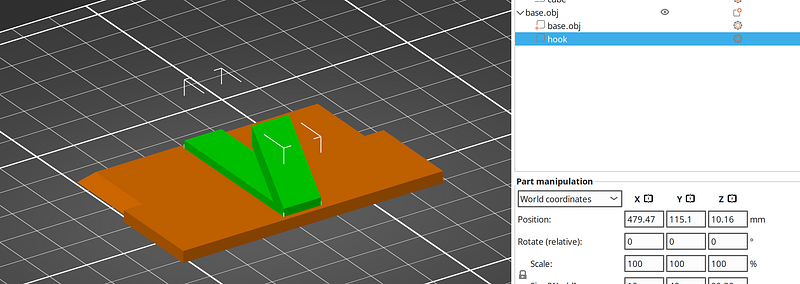
However, we can "bake" the changes into the object by exporting it to file and then importing back. Right click and export to STL/OBJ (use OBJ if you can). Notice you have to click on the entire entity, not just a single object (pliers_holder-changed.stl in our example).
Once we have that, we simply import the file we created and right click add part → load and select our hook and Bob's your uncle.
Combining these simple operations can be used to create quite complex changes, especially once you start subtracting other things than cubes. However, it's still best for quick and dirty solutions where I can't be bothered to open an actually model editor. Anything more complex will quickly hit limits of this approach.
N.B. this simple example could be easily done by cutting, but that's not the goal of this article.
Bonus
You can also simulate intersection, if you try hard enough (well, sort of). Set infill and perimeters to zero and add a modifier that will restore these values. The resulting object will then be the intersection of the modifier and the original object. This obviously cannot be exported and can only be used as a last step of our editing.